I’m a collector of oddball hobbies. One of them is making giant chocolate bars.
Twix, kit kat, peanut butter cup, and more, it’s been a pleasure making and sharing these monstrosities with my friends.
My latest creation? A giant Ferrero Rocher.
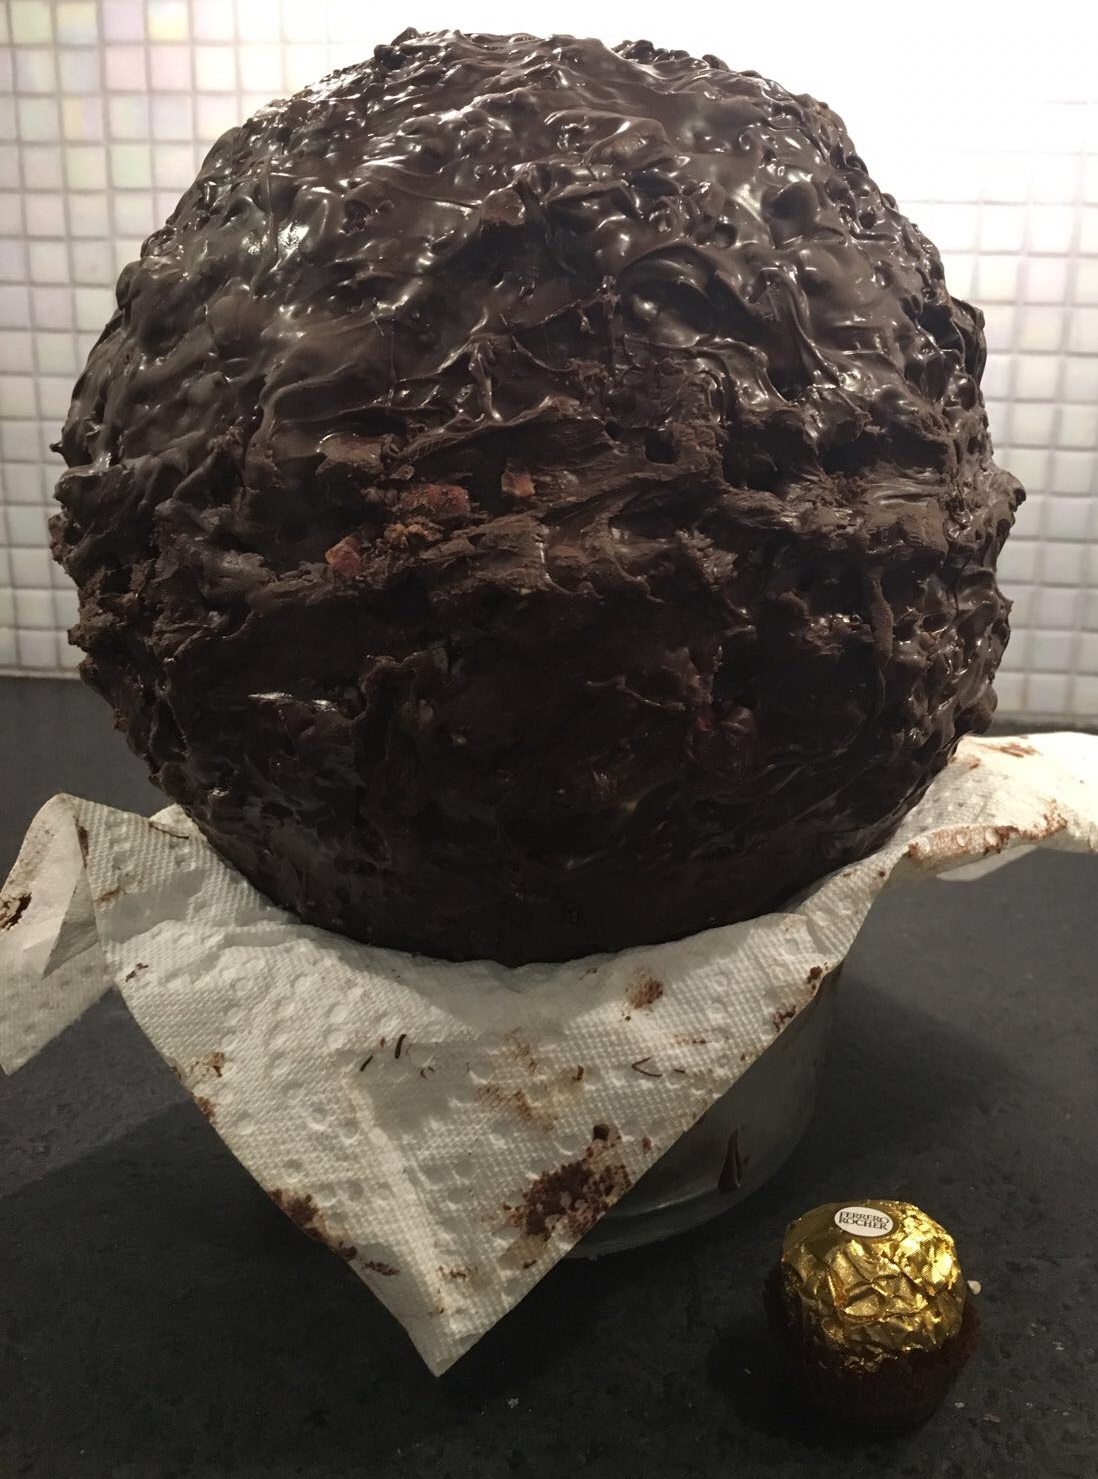
And if you’ve ever wanted to make one, I’m going to show you how.
Before you start
I’m assuming you have some basic knowledge of cooking. For example, you should know how to melt chocolate. You should also know how to either temper chocolate or purchase compound chocolate.
In many ways, the melted chocolate will act as a glue.
None of this is difficult, but a bit of knowledge goes a long way.
Recipe Ingredients
Inner “hazelnut”
- Marshmallow fluff or a couple of marshmallows
- 2 tbsp ground hazelnuts
Interior “Nutella” filling
- 5 jars of Nutella
- 1 (chocolate) cheesecake
Outer Shell
- 7-inch silicone hemisphere
- 3 pounds of dark chocolate, melted
- 2 pounds of chopped hazelnuts
- Wafers (cannot be too thick – I used thin vanilla wafers)
I recommend dark chocolate just because there’s already so much sweetness that it gives a bit of flavor and doesn’t make it syrupy sweet.
Recipe
We are going to work inside out – it’s easier to add layer after layer.
Making the “hazelnut” for the middle
To make the inner “hazelnut,” just mix marshmallow fluff with the ground hazelnut. The idea is to mix it in together well enough that you can then form a ball of them together.
If you don’t have fluff, just microwave 2-3 marshmallows for about 15-20s. Then mix in the ground hazelnut and pack it together until you can form a ball.
You now have your middle “hazelnut.”
Place into the fridge to cool.
Inside content
From experience, I knew that pure Nutella in the middle would just be too sweet (and quite runny). So to give it some bulk and a bit of a unique taste, I decided to mix it up with (brownie chocolate) cheesecake.
Take the cheesecake, remove any hard base and any extraneous toppings, and crumble into a bowl. Use a spatula to add in one jar of Nutella.
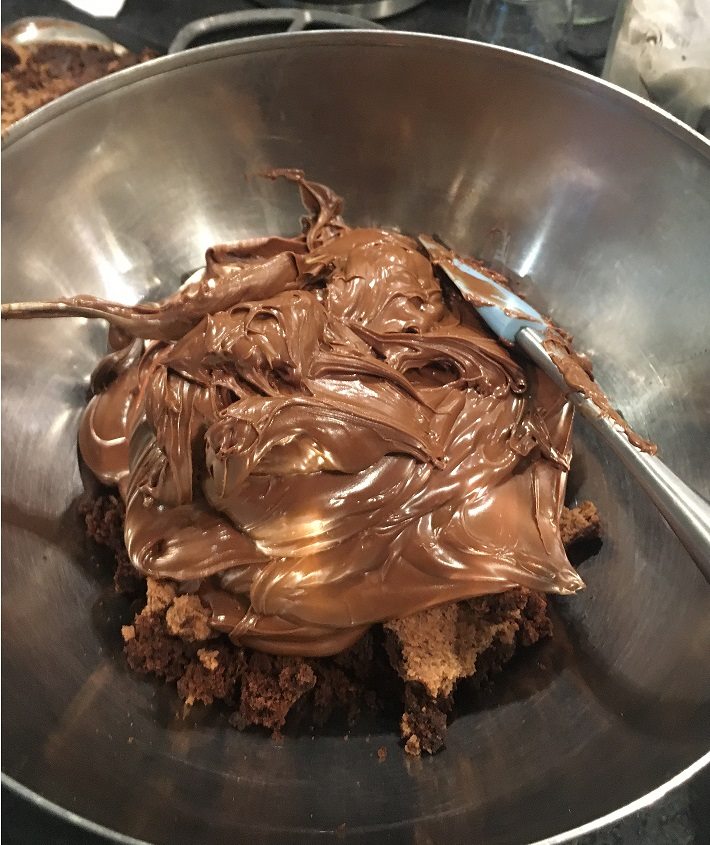
Whip together.
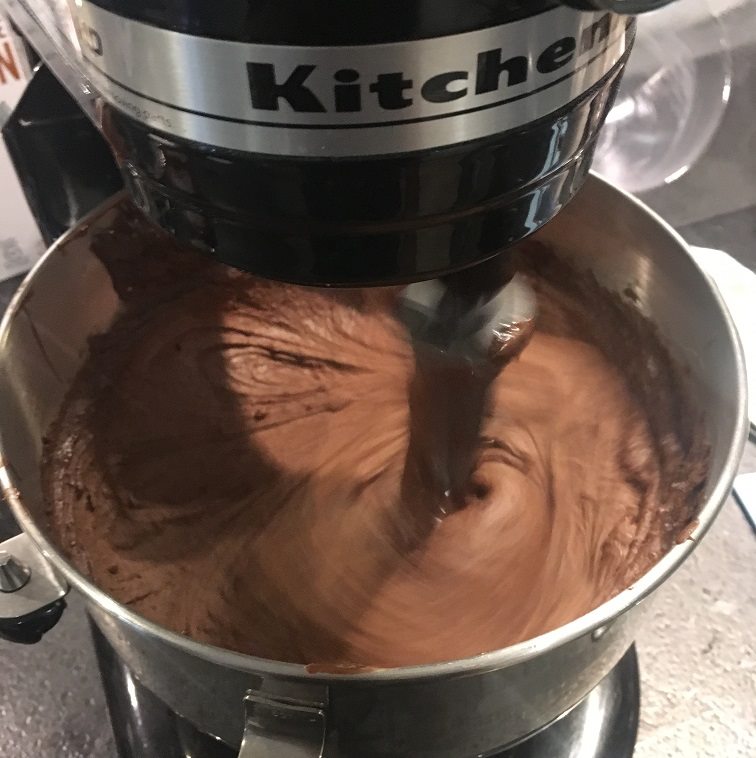
Continue with the remaining four jars of Nutella.
If the combination becomes too thick and dry, pour in some warmed whip cream. You can pour more or less depending on how thick you want the interior to be.
Remember, this is your giant chocolate, so do as you want.
Whip the filling until it achieves a consistency you are happy with, and then pour half into each silicone hemisphere.
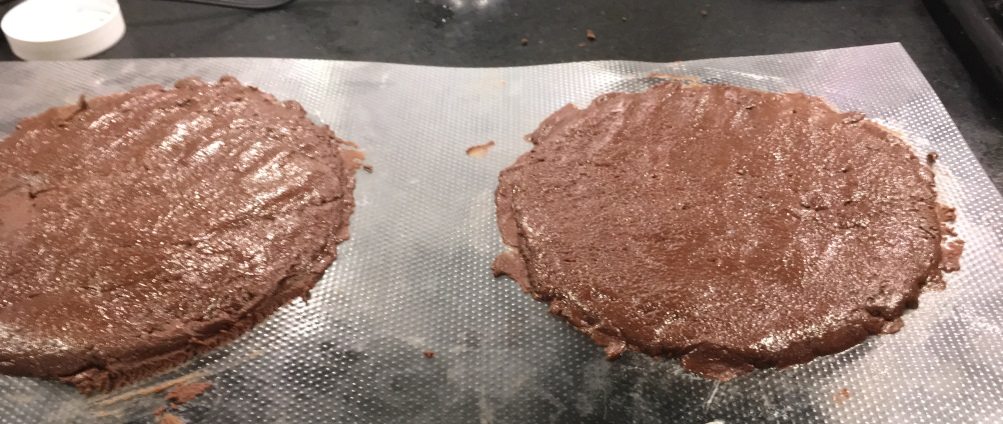
Place into fridge and let it cool and solidify.
Adding the wafer layer
Once the hemispheres have cooled and solidified, pop one out, turn it upside down, and place on top of a bowl or dish that is smaller than the width of the hemisphere. Place this bowl on top of a plate.
You do this because you’ll be pouring chocolate on it and don’t want it to collect at the base.
Start melting your chocolate.
Apply a thin layer of chocolate on a small surface of the hemisphere; using the chocolate as a form of “glue,” start placing wafers on the chocolate.
NOTE: You do not want to place the wafers directly on the Nutella-cheesecake mix because the wafers will absorb moisture, which softens them and removes the crispiness. The chocolate acts as a barrier!
Slowly but surely apply chocolate, place wafers on chocolate, and continue until the entire hemisphere is covered.
Pop the hemisphere into the fridge and repeat the process for the other hemisphere.
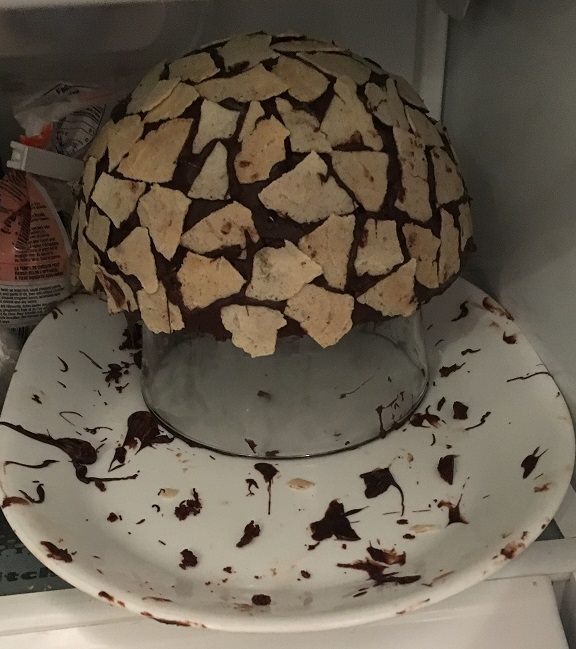
I found it easiest to start from the middle top and slowly work my way down in a coil-like manner.
You can then apply a second layer of wafers if you want.
Creating the hazelnutty exterior
Once you’re done applying the wafers (and have ensured they have set by letting the chocolate cool and solidify in the fridge), apply one more layer of thin chocolate on top.
Unlike how we did the wafers bit-by-bit, encase the entire hemisphere in chocolate.
Now, pick up the chopped hazelnuts in one hand and start scattering them on. The melted chocolate should catch them and they should embed.
The lower section is a bit tougher… have a hand underneath to catch any falling hazelnuts and gently push them into the melted chocolate.
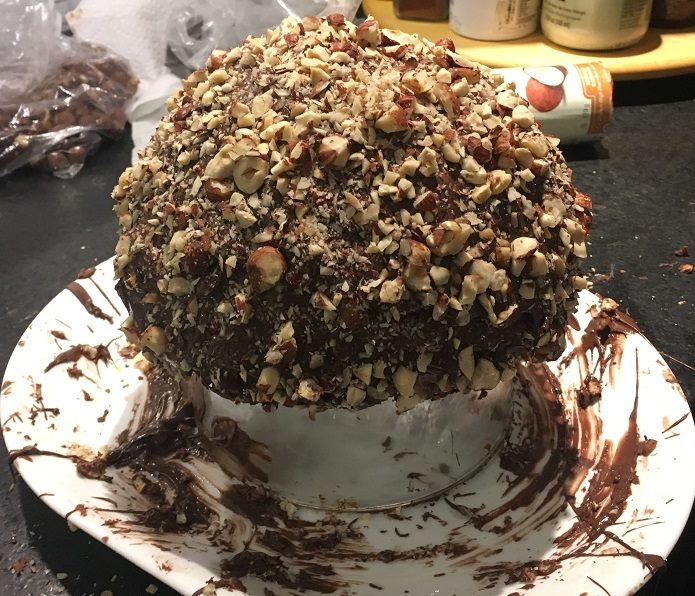
When covered to a level you’re happy with, place into fridge and repeat with the other hemisphere.
Final layer of chocolate
Take out a hemisphere, and just drizzle and apply chocolate on top. Don’t go overly thick – you want to keep the rough texture that the hazelnut gives the outside.
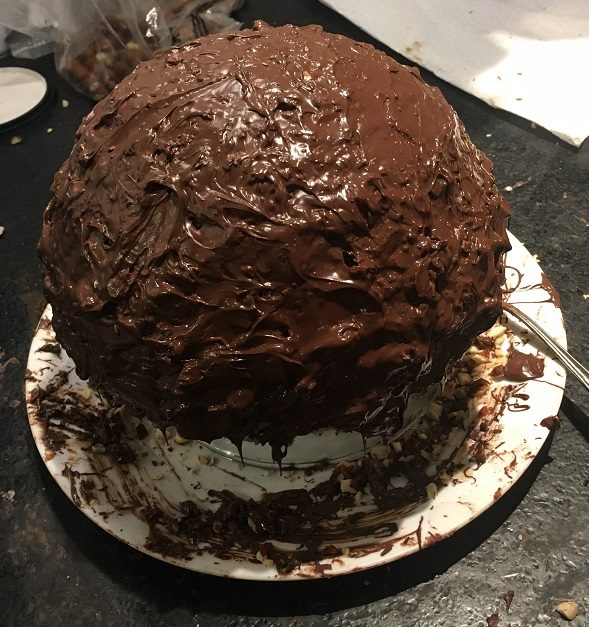
Plus, if you put on too much chocolate, it will become a bear to cut when it’s time to feast.
Once you’ve applied a thin layer, place into fridge, and repeat for the other hemisphere
Carving out the “hazelnut”
Take out both hemispheres and the inner “hazelnut” you had made earlier with the marshmallow fluff and ground hazelnut.
Place paper towels into a small bowl; then flip and place a hemisphere so it snuggly fits into the bowl. Repeat for the other hemisphere.
Use a spoon to carve out a half circle and fit in your “hazelnut” in the middle. Make sure each side fits into each half-sphere.
Almost finished!
Putting it all together to form a giant Ferrero Rocher
Take some melted chocolate and apply it to exposed inside of one of the hemispheres. Take the other hemisphere, flip it around, and place it on top.
You may need to give a slight squeeze to get them to set together.
You’ll get two hemispheres snuggly fitting together to give you a giant sphere!
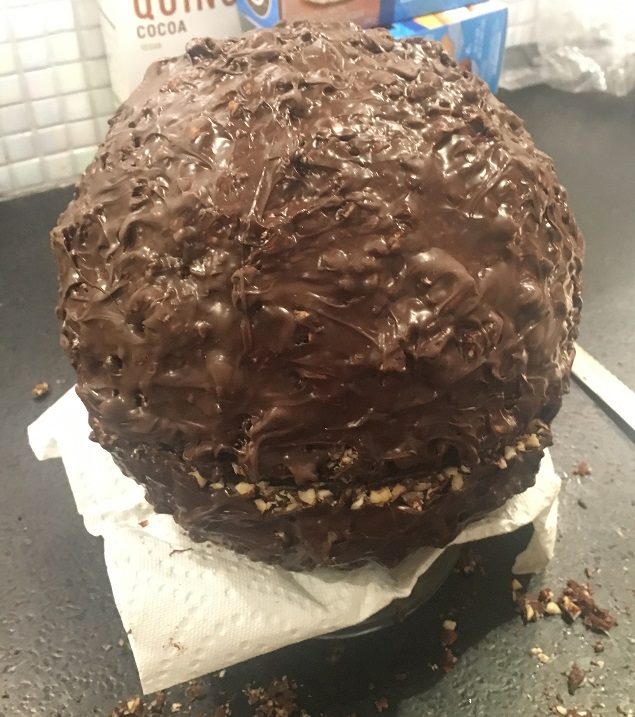
Your last step is to take some of the melted chocolate and apply it where the two hemispheres meet.
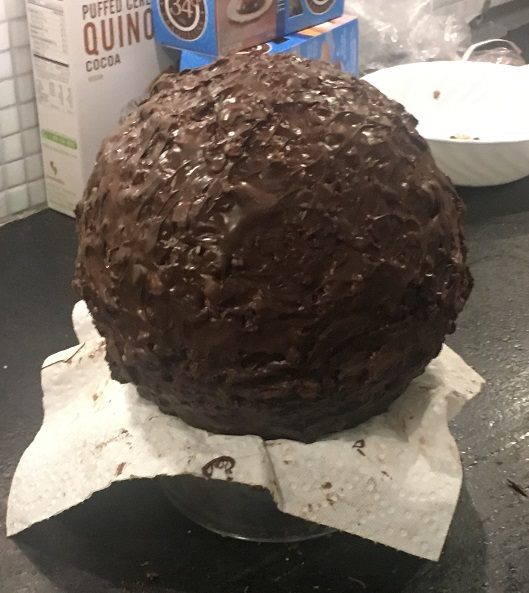
Once you’ve covered up the split, place it in the fridge, and that’s it…
Your giant Ferrero Rocher is ready!
If you want to be extra fancy…
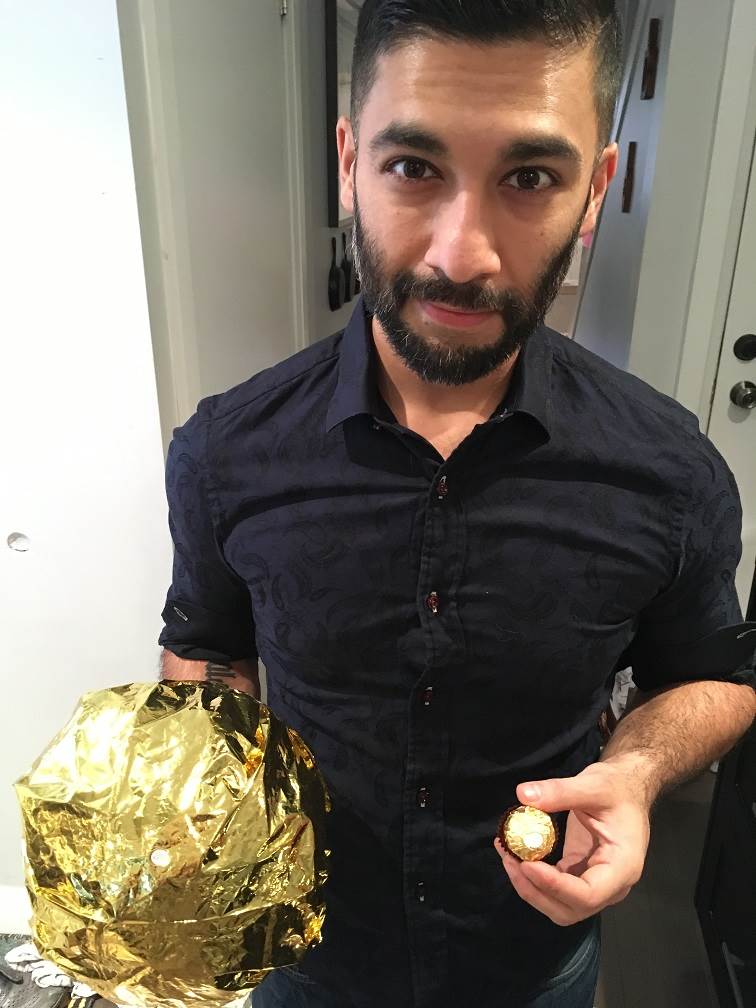
You can buy some gold foil and wrap the chocolate in it. You can also make the base to hold it in.
Eating a giant chocolate
A word of caution – chocolate can be tough to cut through.
Before you eat the giant Ferrero Rocher, let it reach toom temperature (leave it on your kitchen counter for a few hours).
This will let the chocolate warm up a bit make it a lot easier to cut (ever left a chocolate bar in the fridge? They can be really tough to eat).
When you are ready, I suggest using a serrated-edge knife. Stab directly into the ball, and then start sawing it open.
Prepare to see your best plans fall apart as the giant ball of hazelnut-chocolatey goodness is attacked by your friends who have no time for your slow cutting.
Enjoy and eat 🙂
Calories
As you lose a fair amount of chocolate and hazelnut, I’m going to estimate you only end up with 1kg of chocolate and half a kilo of hazelnuts.
Then again, if you’re trying to track calories for such a beast, your priorities may be a bit off…
TOTAL :
- Calories: 20,700
- Fat: 1285g
- Carbs: 2085g
- Sugar: 1815g
- Protein: 310g
So there you go – a delicious monster clocking in at > 20,000 calories.
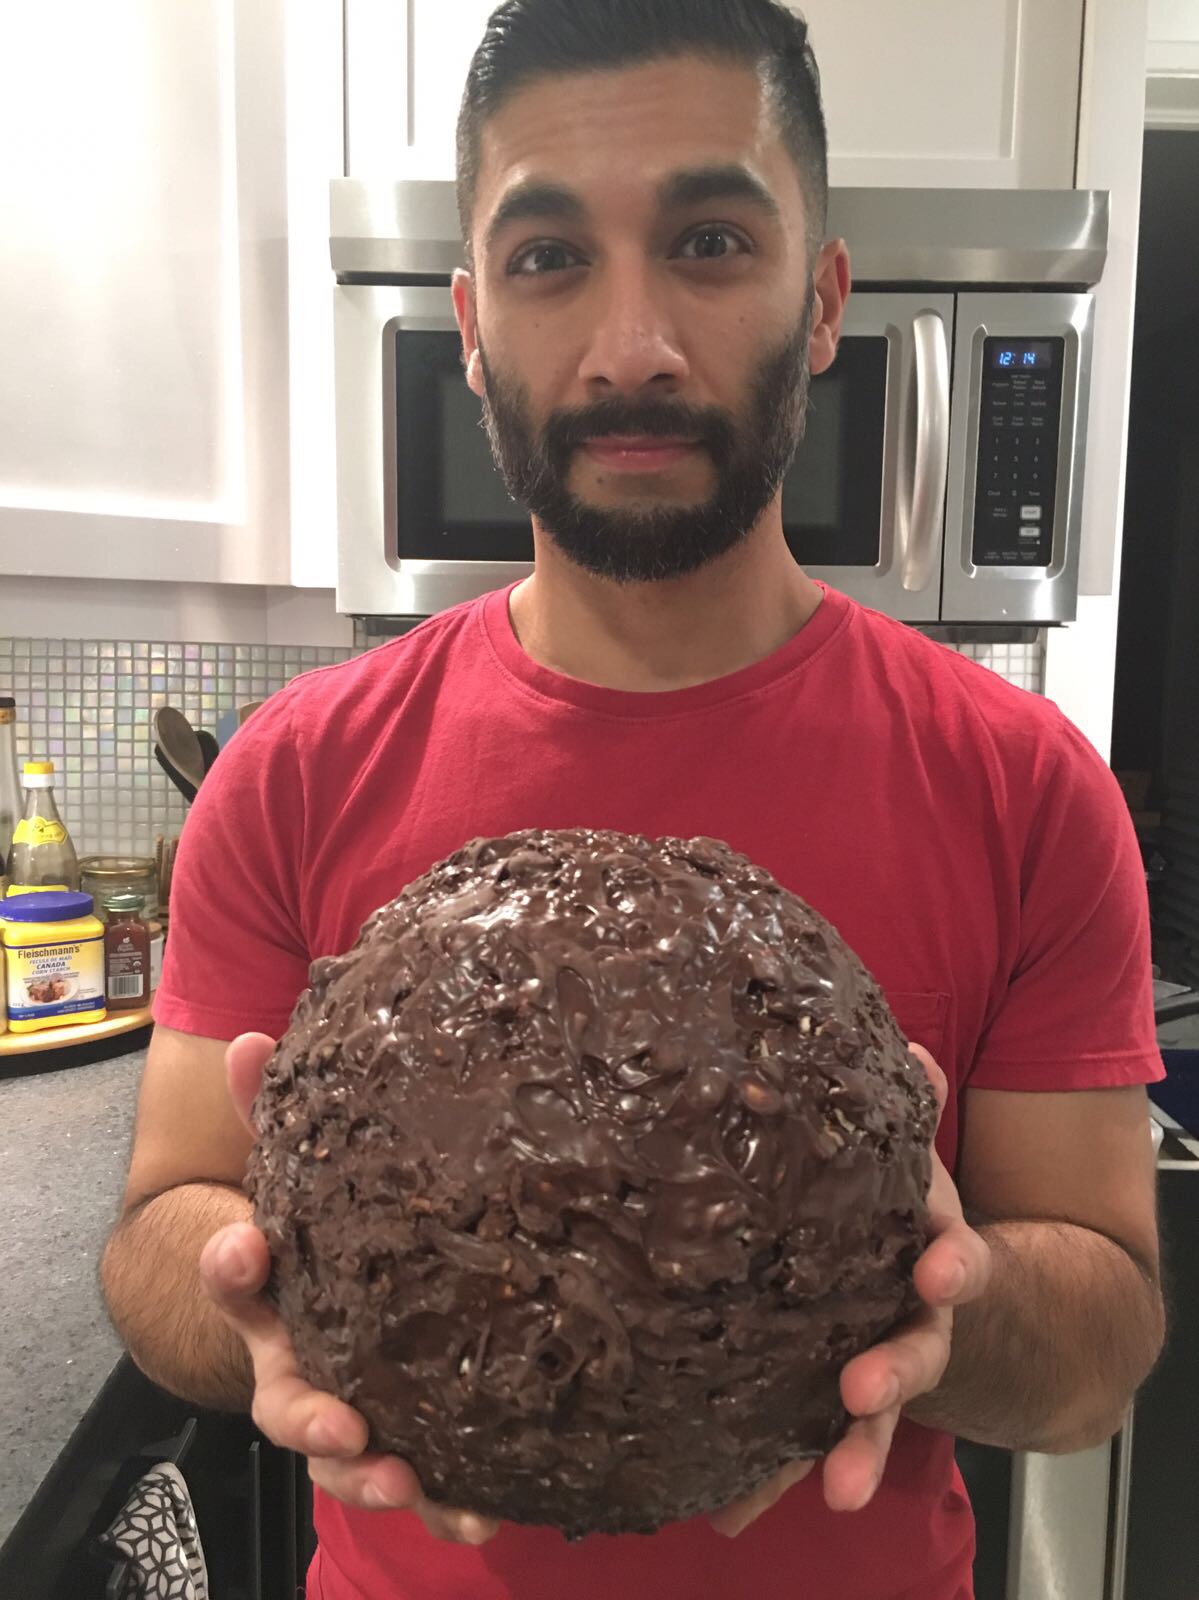
And absolutely worth making.
Leave a Reply